
How to digitally sign an ActiveXperts software component
Summary
This article explains how to sign an ActiveXperts component so it can be used by any Internet Explorer without any browser security popup message. In this article, a local CA (Certification Authority) is used (i.e. a CA that is located in the LAN). The installation of this CA is also described in this article.
The article applies to the following ActiveXperts components:
- ActiveXperts Network Component (AxNetwork32.dll and AxNetwork64.dll)
- ActiveXperts Serial Port Component (AxSerial32.dll and AxSerial64.dll)
In order to install and use an ActiveXperts component in a safe manner in a browser, the COM DLL (the actual component) will be packaged in a cabinet (.CAB) file. This CAB file will be signed using a certificate, issued by a Certificate Authority.
You can use any CA (Certificate Authority) to request a certificate, as long as the CA is in the list of trusted CA's in the client's browser; in this article, we will use a local CA, located in a LAN. We will use Microsoft Certificate Server for that. This CA will be added to the client browser's list of trusted authorities. You can also use a commercial CA instead, for example: Verisign.
This article describes the following steps:
- 1. Package the COM DLL in a cabinet (.CAB) file
- 2. Install Microsoft Certificate Server
- 3. Request and issue a certificate and a private key
- 4. Sign the CAB file
- 5. Use the ActiveXperts component in a browser using the signed CAB file
1. Package the COM DLL in a cabinet (.CAB) file
To package a DLL into a cabinet (.CAB) file, use Microsoft's free Cabinet Software Development kit. You can download the this SDK from the following location: support.microsoft.com/kb/310618. The setup installation file is a self-extracting executable.
After installation of the Cabinet SDK, use the CABARC.EXE utility to package the DLL. The CABARC.EXE utility - located in the BIN directory of the SDK, requires the following parameters:
- Command - Use n to create a new CAB file
- CAB file - Name of the new CAB file
INF file - INF file associated with the DLL file. You can find the INF file in the Utilities directory of the component, for instance: C:\Program Files\ActiveXperts\serial-port-component\Utilities\AxSerial32.inf
- DLL file - The COM DLL file. You can find the DLL file in the <COMMONDIR>\ActiveXperts\ folder
C:\CABSDK\BIN\CABARC.EXE n "C:\AxSerial32.cab"
                           "C:\Program Files\ActiveXperts\Utilities\AxSerial32.inf"
                           "C:\Program Files\Common Files\ActiveXperts\AxSerial32.dll"
2. Install Microsoft Certificate Server
On Windows 2003 Server platforms, Microsoft Certificate Server is not installed by default. You can install Microsoft Certificate Server from the Add/Remove Software applet.
When the applet is started, click on 'Add/Remove Windows Components' and choose to install 'Certificate Services'.
During the installation of Microsoft Certificate Server, you will be prompted for a 'CA Type'. If you choose for an Enterprise root CA, you can only use the certificates in association with Active Directory. Since we want to allow the ActiveXperts component for any browser on any network, select 'Stand-alone root' CA.
NOTE: You must have IIS installed prior to the installation of Microsoft Certificate Server.
3. Request and issue a certificate and a private key
Now you have your local CA installed, you can request a certificate.
3.1: Use the browser to request a certificate
Use the Internet browser to request a new certificate. We use the browser on the Certificate Server machine, but you can request a certificate on any machine:
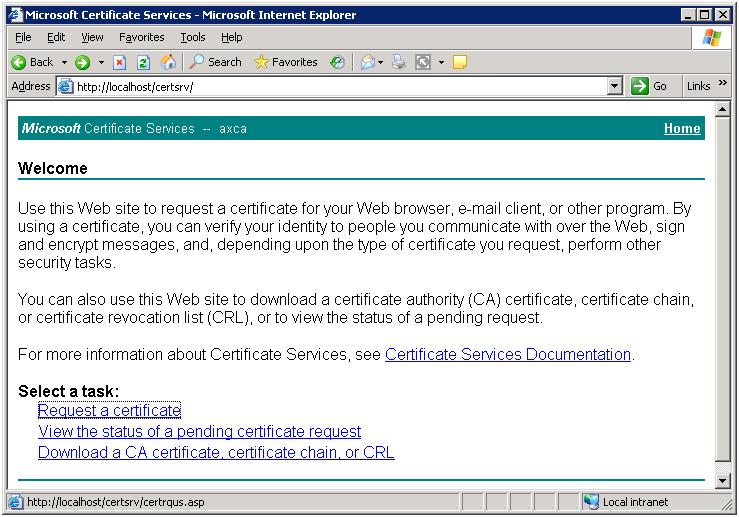 3.a. Start certificate request |
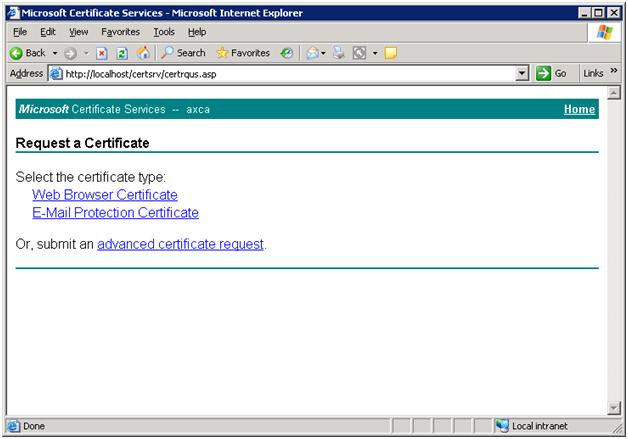 3.b. Click on 'Advanced certificate request' |
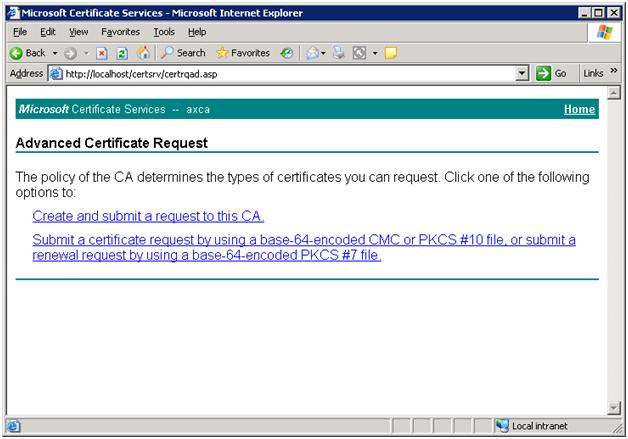 3.c. Click on 'Create and submit a request to this CA' |
In the 'Advanced Certificate Request' window, it is important to enable the 'Mark key as exportable' option so that the private key will be exported to a file. This private key (.pvk) is required later on when signing the CAB file using the signcode utility.
 3.d. Certificate request. Mark private key as exportable. |
After clicking "Next", you'll get two 'Potential Scripting Violation' questions. Answer both with 'Yes'. The last step of the wizard will ask for a password. Choose a password; you'll need it later on when signing the CAB file.
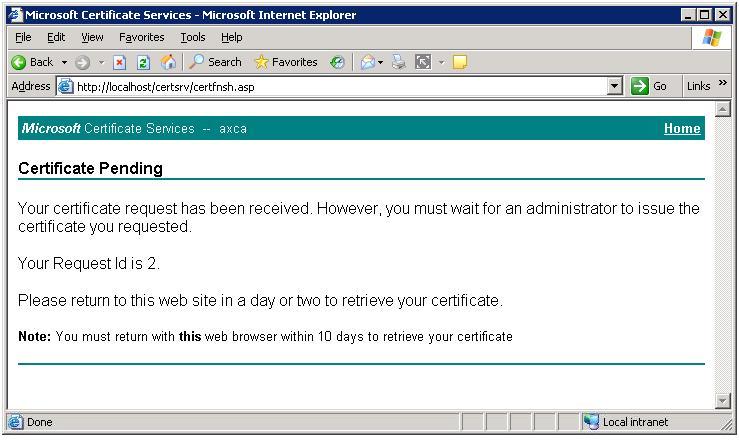 3.e. Request completed. |
3.2: Issue the Certificate
After the request has been submitted, the Certificate appears as 'pending' in the 'Certification Authority' program (choose Start->Administrative Tools to launch this program).
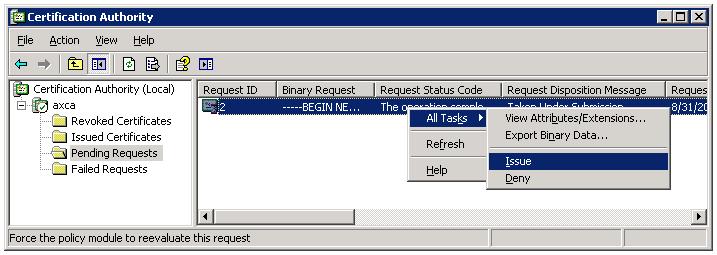 Issue the License Certificate |
3.3: Export the Certificate to a file
Now that the certificate is issued, it is moved from the 'Pending Request' container to the 'Issued Certificates' container.
The next step is to export the certificate to a file, so it can be used later by the signcode utility to sign the CAB file.
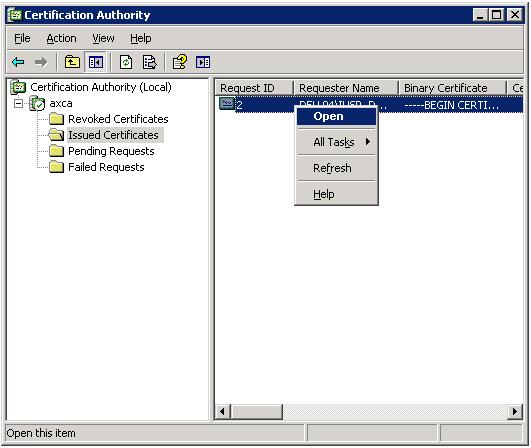 3.f. Open the Certificate |
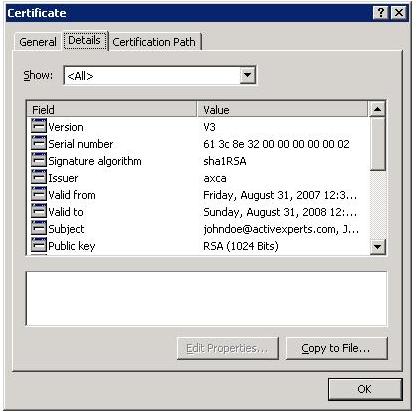 3.g. Click on 'Details' and press 'Copy to File' |
A wizard guides you through the process of exporting the certificate to a file. You can select the following file formats: X.509/DER, X.509/base64 or PKCS#7. In this article, we use X.509/base64.
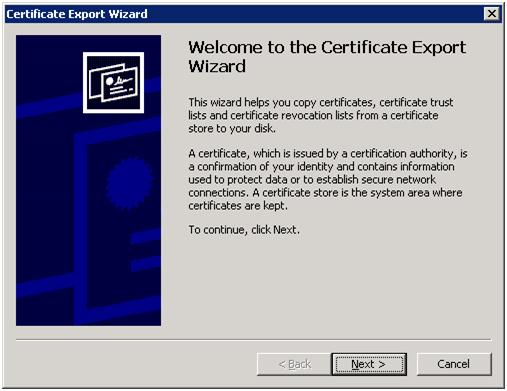 3.h. Start the Export wizard |
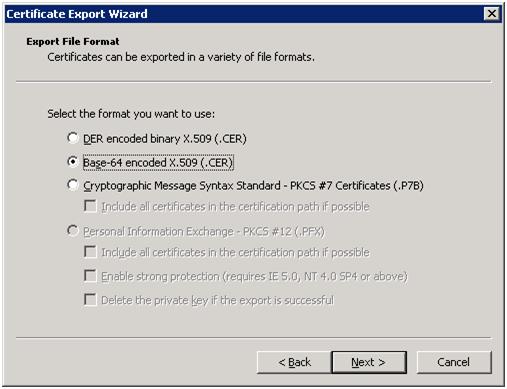 3.i. Choose a file format |
The wizard asks for a valid directory to store the certificate file, and finally shows a completion window.
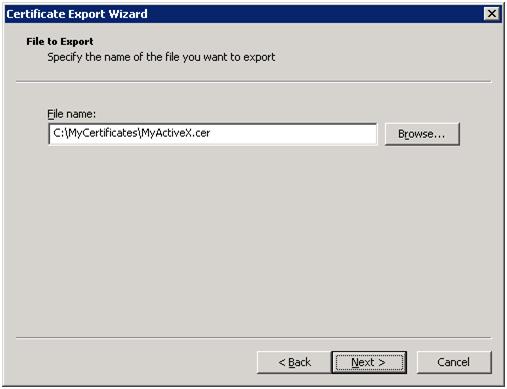 3.j. Choose a valid directory |
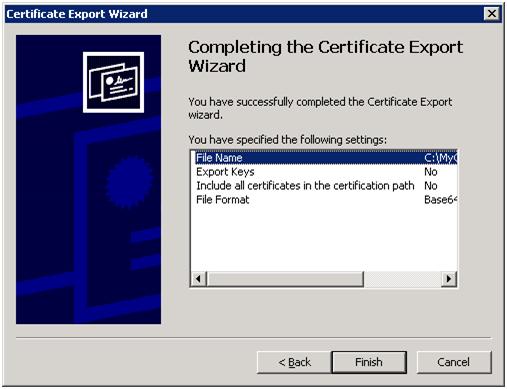 3.k. Wizard completed |
4. Sign the CAB file
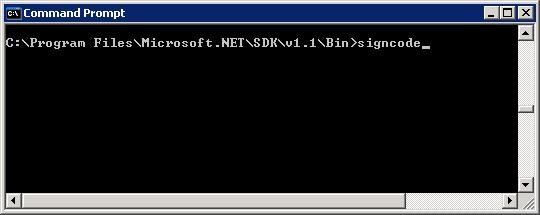
Signing the CAB file means: attaching a certificate to the CAB file. In this article, we use the signcode utility that ships with the .NET Framework SDK 1.1.
You can launch the SIGNTOOL utility by starting a new command prompt, go to the .NET Framework SDK binaries directory and type 'signcode'.
 4.a. Choose a valid directory |
 4.b. Wizard completed |
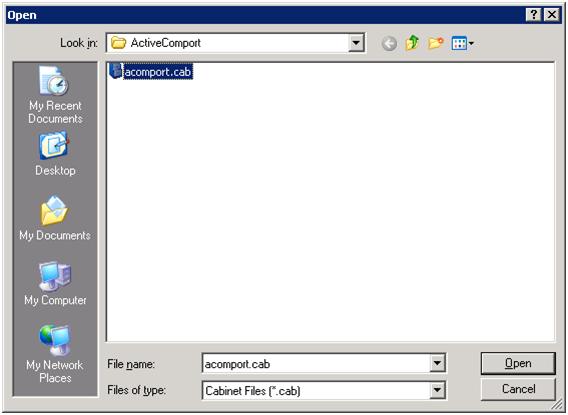
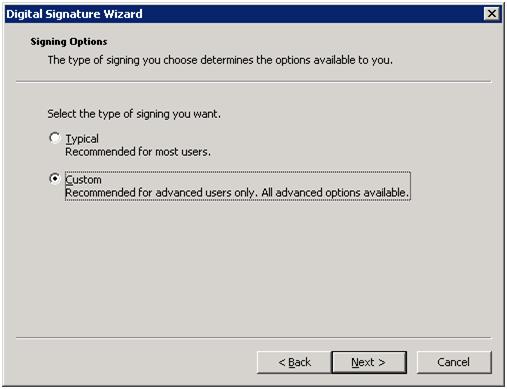
Select the CAB file that was created in Chapter 1, and choose 'Custom' from the signing options.
 4.c. Choose a valid directory |
 4.d. Wizard completed |
Choose 'Select from File', and select the certificate requested and issued in Chapter 3.
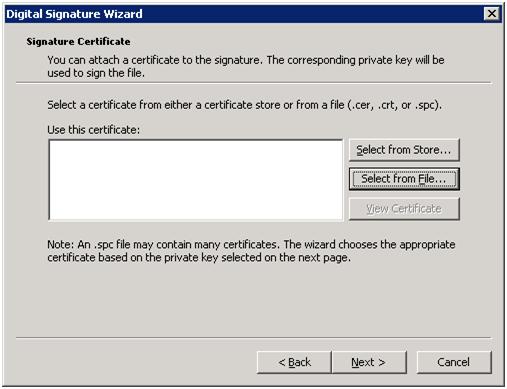 4.e. Choose 'Select from file' |
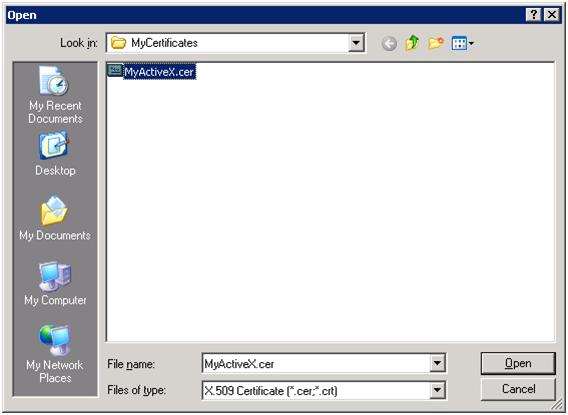 4.f. Select certificate from file |
Select the private key that was exported in Chapter 3.
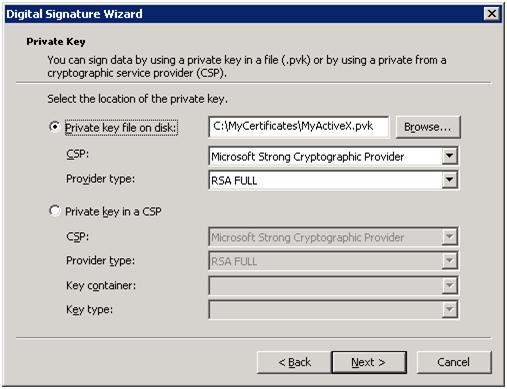 4.g. Select private key |
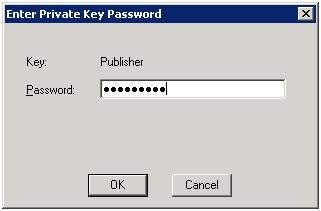 4.h. Type password that was used to export private key |
Select your preferred hash algorithm. In this article, we use sha1 (default). After that, click 'Next' a few times leaving all fields default. Finally, the Completion window appears.
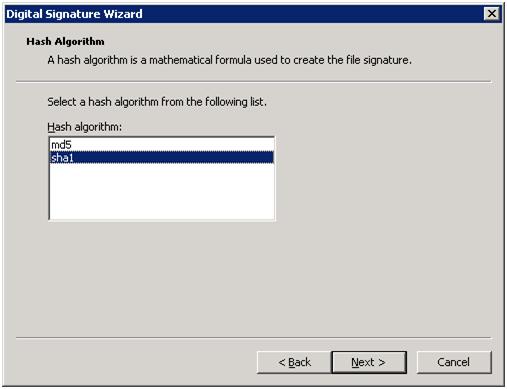 4.h. Select preferred hash algorithm |
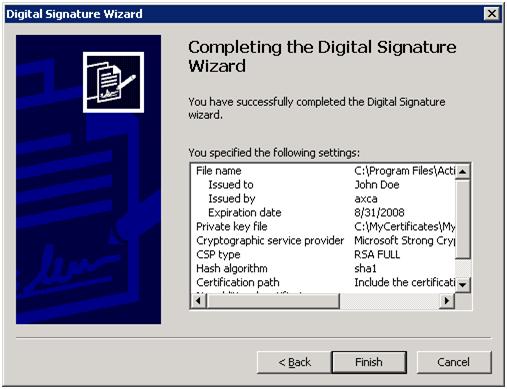 4.i. Press 'Next' until Completion window appears |
5. Use the ActiveXperts component in a browser using the signed CAB file
In the ActiveXperts directory, there's a folder named Examples. This folder contains an HTML sample, which consists of just one file called Index.htm.
The header of this file looks like this:
<html>
 <head>
   <title>ActiveXperts Serial Port HTML/JavaScript Sample</title>
   <object codeBase="https://www.activexperts.com/files/serial-port-component/cab/v30/AxNetwork32.cab"
              classid="CLSID:68A2C188-A606-4841-AE8A-D58C6F6BE583" ></object>
   <script language="JavaScript">

   <!--  ... -->
 </body>
</html>
The codebase attribute in the object tag will download and install the ActiveXperts component if it is not already installed. Since the CAB file is digitally signed, we need to tell the Internet Explorer that the particular CA is a trusted one. Many popular CA's are already marked as trusted by default in the Internet browser. However, if you use your own CA (like we do in this article) or if you use a less popular CA, you need to import the CA's certificate in the Internet Explorer to mark the CA as trusted.
The Internet Explorer Certificate Manager enables you to install and remove trusted certificates for clients and CA's. Many CA's have their root certificates already installed in Internet Explorer. You can select any of these installed certificates as trusted CA's for client authentication, secure e-mail, or other certificate purposes, such as code signing and time stamping. If a CA does not have its root certificate in Internet Explorer, you can import it. Each CA's Web site contains instructions that describe how to obtain the root certificate.
5.1: Export the CA's certificate
The CA has an 'CA Certificate'. This certificate has nothing to do with the certificate that we requested/issued in Chapter 3. It is the single certificate associated with the CA. You can obtain the certificate by using the CA's backup function. The certificate is required in "5.2:
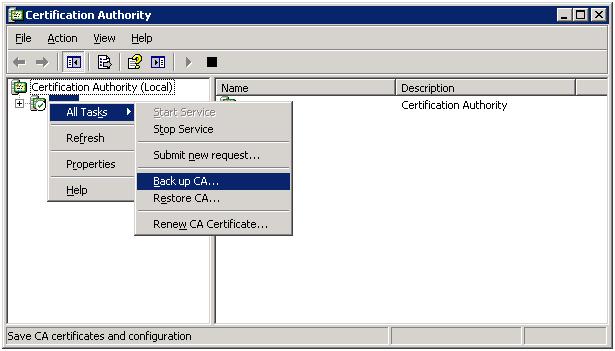 5.a. Start certificate request |
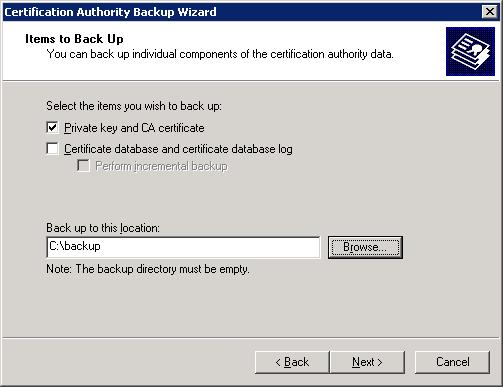 5.b. Select 'Private key and CA certificate' |
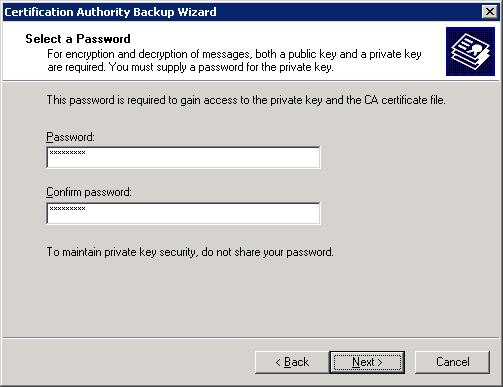 5.c. Click on 'Create and submit a request to this CA' |
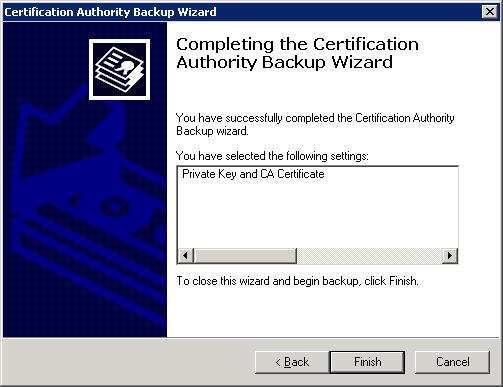 5.d. Finished. |
5.2: Install the CA in the list of trusted certificates in the browser
To install (or remove) CA's from the list of trusted certificates in Internet Explorer:
- On the 'Tools' menu, click 'Internet Options', and then click the 'Content tab';
- Click 'Certificates';
- Click one of the following tabbed categories for the type of certificates you want to install or remove: Personal, Other People, Intermediate Certification Authorities, Trusted Root Certification Authorities or Trusted Publishers. In this article, we use 'Trusted Root Certification Authorities';
- Choose 'Import'; an Import Wizard is launched;
- You will be prompted for a file to import. You must select the certificate that was created in Chapter 5.1: "Export the CA's certificate".
5.3: use the ActiveXperts component
You can now safely run the ActiveXperts component inside your browser by double-clicking on the HTML sample, for instance:
C:\Program Files\ActiveXperts\Serial Port Component\Examples\HTML\Index.htm
On first use, you will be prompted to install the component. On any subsequent launch of the HTML file, you can use the component without any warnings or prompts from the Internet browser.